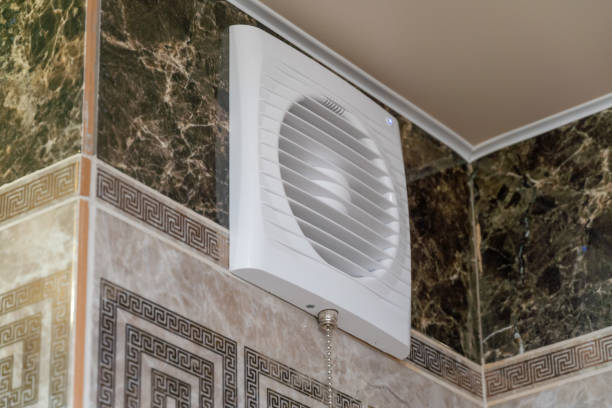
The bathroom is a space prone to moisture and humidity, making proper ventilation crucial to prevent mold, mildew, and structural damage. Installing bathroom fan with light not only improves air quality but also aids in moisture control. With the right tools and a systematic approach, you can easily tackle this DIY project. Here’s a detailed breakdown of each step for how to install a bathroom fan:
Step 1: Gather Your Tools and Materials
Before starting the installation process, it’s essential to have all the necessary tools and materials at hand. These include:
Tools:
1. Screwdriver (Phillips and flat-head): This is necessary for removing existing fixtures and securing the fan in place.
2. Wire cutter/stripper: Used to cut and strip wires during the electrical connections.
3. Drill with bits: Required for making holes for screws and possibly for the ductwork.
4. Pliers: Useful for manipulating wires and tightening connections.
5. Utility knife: Helps in cutting through drywall or ceiling material for fan placement.
Materials:
1. Bathroom fan kit: Ensure it includes the fan unit, ductwork, screws, and installation instructions.
2. Vent cover: Needed for exterior ventilation and to prevent outdoor elements from entering the duct.
3. Electrical cable: Ensure it’s appropriate for the electrical load and follows local building codes.
4. Electrical tape and wire connectors: Essential for secure and insulated electrical connections.
5. Roof or wall cap: Necessary if venting through the roof or wall.
Step 2: Choose the Right Location
Selecting the ideal bathroom fan location is crucial for its efficiency. Opt for a spot near the shower or bathtub to effectively remove moisture. Additionally, bath fan placement ensures there’s access to power and enough space in the ceiling or wall to accommodate the fan without interfering with existing structures or utilities.
Step 3: Turn Off the Electricity and Prepare the Installation Area
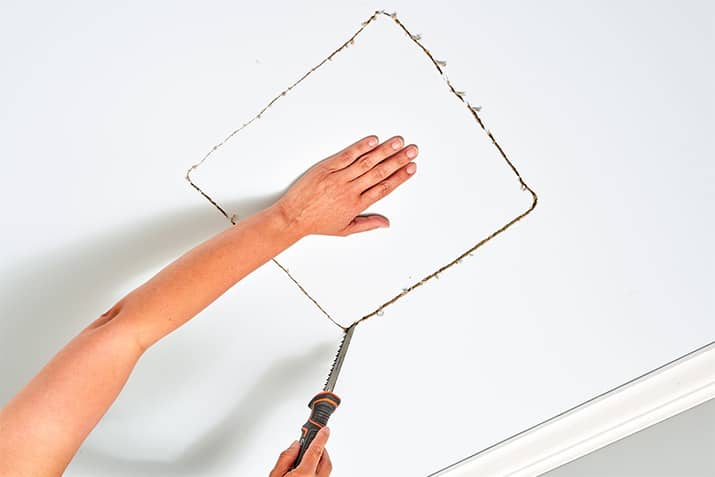
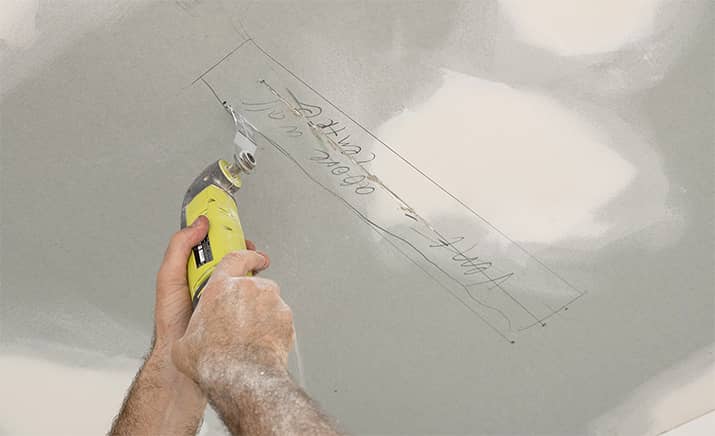
Safety should always be a priority. Begin by turning off the electricity supply to the bathroom at the breaker panel. To be certain, use a voltage tester to confirm that the power is indeed off before proceeding. Next, prepare the installation area by removing insulation, cutting a hole for the fan, and ensuring there are no obstructions in the chosen location.
Step 4: Install the Fan Housing
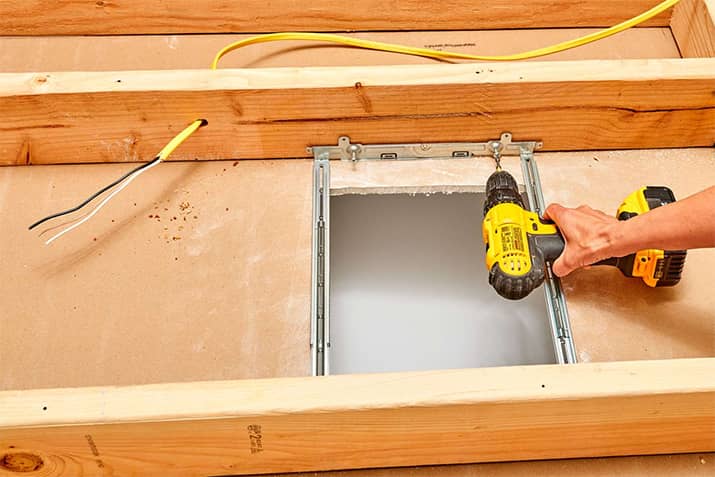
Follow the manufacturer’s provided instructions to mount the fan housing securely. Use the appropriate screws to attach it firmly to the ceiling joists or wall studs. Take care to ensure the housing is level and properly aligned with the ductwork for efficient airflow.
Step 5: Connect Wiring
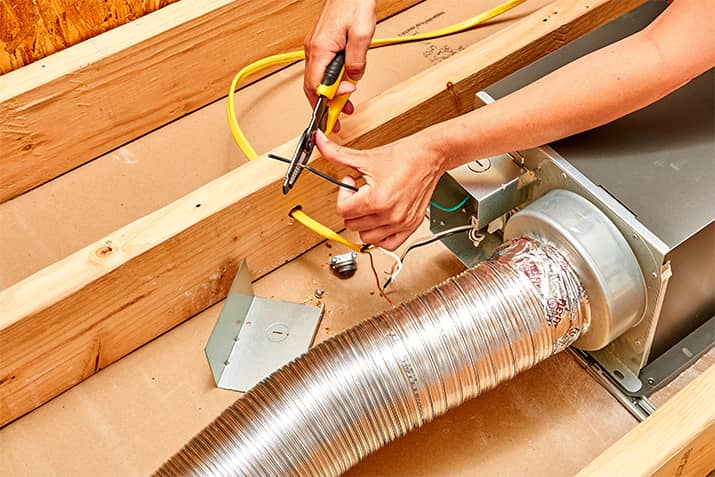
Carefully read and follow the wiring bathroom fan instructions provided with the fan. Run a suitable electrical cable from the fan to the power source, which is typically the nearby light fixture or a dedicated switch. Utilize wire connectors to join the corresponding wires—black to black, white to white, and green or bare copper for the ground wire. Secure connections with electrical tape and insulate any exposed wiring.
Step 6: Install Ductwork and Vent Cover
Attach the ductwork provided with the fan kit to the fan housing. Ensure a tight fit and use clamps or tape to secure connections. Following this, install bathroom exhaust fan the vent cover either on the wall or roof, depending on the chosen ventilation route. It’s crucial to properly seal the vent cover to prevent drafts and potential moisture leaks.
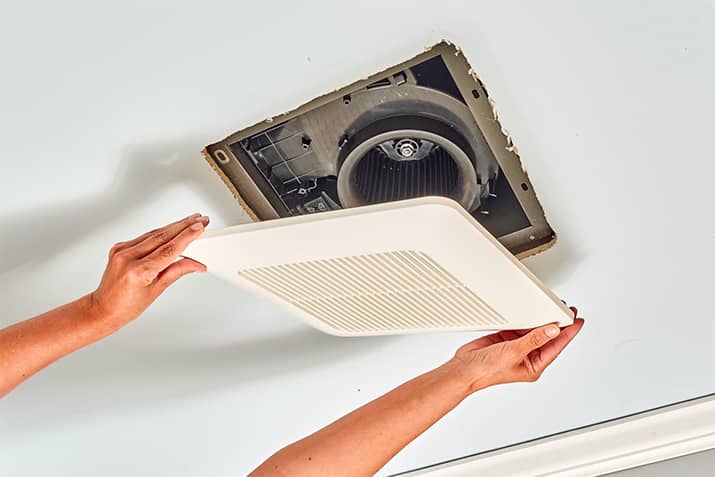
Step 7: Test and Finalize
Before completing the bathroom exhaust fan installation:
- Conduct a test run.
- Turn the power back on and switch on the fan.
- Listen for any unusual noises and ensure there is proper airflow.
- Once confirmed, seal around the fan housing with caulk to prevent any air leaks that could compromise efficiency.
Safety Tips:
- Turn off the power: Always switch off the electricity supply to the exhaust fan installation area before starting any electrical work.
- Follow instructions: Refer to the manufacturer’s guidelines for both the fan and electrical connections.
- Proper venting: Ensure the ductwork routes moisture outside the house to prevent indoor humidity buildup.
Wrapping Up
The purpose of a bathroom fan might seem like a complex task, but breaking it down into these seven steps simplifies the process. By taking your time, following instructions diligently, and ensuring safety measures are in place, you can successfully enhance your bathroom’s ventilation system, promoting a healthier and more comfortable living space.
Remember, if you encounter any challenges beyond your expertise, seeking professional help is always a wise choice.
FAQs
Can a bathroom fan be installed with a light fixture?
Yes, many bathroom fan models come with integrated light fixtures. These combo units offer both ventilation and lighting in one exhaust fan installation, saving space and providing added functionality to the bathroom.
Are there any safety precautions to consider during installation?
Safety is paramount. Always turn off the power supply to the bathroom before beginning any electrical work. Use appropriate safety gear, follow manufacturer instructions, and if unsure about any step, consult a professional.
How long does it take to install a bathroom fan?
The bathroom fan installation time can vary based on factors like the complexity of the installation, accessibility of the installation area, and your familiarity with the process. On average, install new bathroom fan can take a few hours to half a day for a straightforward bath fan installation.
Can I replace an existing bathroom fan with a new one easily?
Yes, replacing an existing bathroom fan with a new one is generally straightforward if you choose a fan of the same size and similar installation requirements. Ensure the power is turned off before removing the old fan, and follow the manufacturer’s instructions for installation.